Another useful Method you can use with the RichTextBox
is SaveFile( ). As its name suggests, this allows you to save the file
that's currently in the text box. We'll use this with another Dialog object.
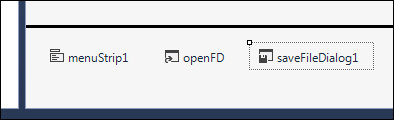
This time, we'll use the SaveFileDialog control instead of the OpenFileDialog
control.
Return to you form, and locate the SaveFileDialog control in the Toolbox: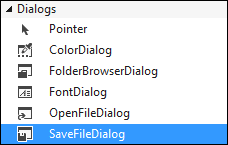

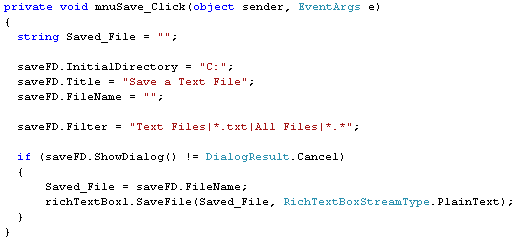
richTextBox1.SaveFile(Saved_File, RichTextBoxStreamType.PlainText);
Again, though, there is a better way to manipulate files. You'll learn all about how to handle text files in a later section. For now, add the code above and Run your programme. Click your File > Open menu item to add a text file to your Rich Text Box. Makes some changes to the text. Then click your File > Save menu item. You should find that the changes are permanent.
OK, let's move on from menus. In the next section, we'll take a look at CheckBoxes and Radio Buttons.


0 comments:
Post a Comment